

Understanding the Problem: Why Gutters Sag
Gutters are an essential part of your home's drainage system, guiding rainwater away from the roof and foundation. But over time, wear and tear can lead to sagging. This isn't just an aesthetic issue; sagging gutters can cause water to pool, leading to leaks and even structural damage. So, how do we tackle this problem before it gets out of hand?
Identifying the Causes of Sagging Gutters
Before jumping into solutions, it's helpful to understand what might cause your gutters to sag in the first place. Here are a few common culprits:
- Clogged Gutters: Debris like leaves, twigs, and dirt can accumulate, especially if gutters aren't cleaned regularly. This added weight can cause gutters to sag.
- Improper Installation: Sometimes, gutters are not installed with enough support. Over time, this can lead to sagging as the fasteners loosen.
- Weather Damage: Heavy rain, snow, or ice can weigh down gutters. The expansion and contraction from temperature changes can also loosen fasteners.
- Old Age: Like any part of your home, gutters have a lifespan. Older gutters may simply wear out and sag under their own weight.
Tools and Materials You'll Need
Before you start fixing your sagging gutters, make sure you have the right tools on hand:
- Ladder
- Screwdriver or Drill
- Replacement Gutter Hangers
- Measuring Tape
- Level
- Safety Glasses and Gloves
Step-by-Step Guide to Fixing Sagging Gutters
Ready to roll up your sleeves? Here's how you can fix your sagging gutters:
Step 1: Secure Your Ladder
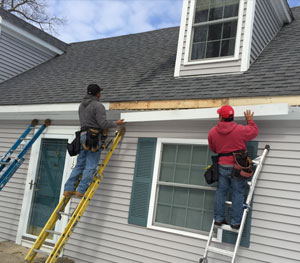
First things first, safety is key. Make sure your ladder is stable and positioned correctly. It should be on a flat surface and angled properly to avoid any accidents.
Step 2: Inspect the Gutters
Take a close look at your gutters to assess the damage. Are there any visible clogs or debris? Are the hangers in good condition, or do they seem loose or broken?
Step 3: Clean Out Debris
Before making any repairs, clean out any debris from the gutters. This will lighten the load and make it easier to see the extent of the problem.
Step 4: Check and Replace Hangers
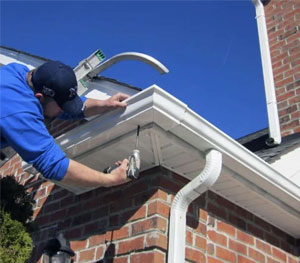
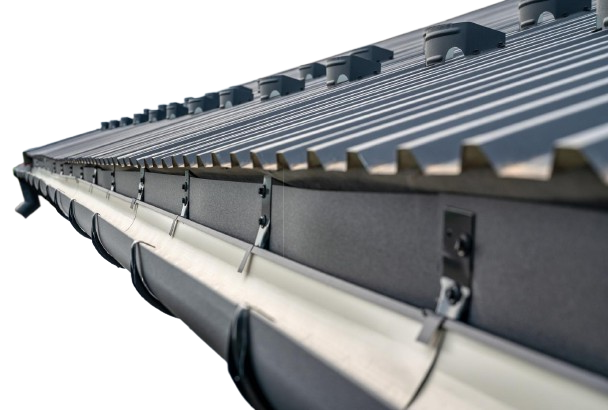
Gutter hangers are crucial for support. Use your screwdriver or drill to tighten any loose hangers. If they're damaged, replace them with new ones. Make sure the new hangers are spaced properly (usually about every three feet) to provide adequate support.
Step 5: Reattach the Gutters
Once the hangers are secure, reattach the gutters. Use a level to ensure they are at the correct angle to allow water to flow towards the downspouts. Adjust as necessary to prevent any future sagging.
Step 6: Test the Water Flow
After everything is in place, test the water flow. Use a hose to simulate rain and check if the water drains properly. This will help ensure that you've fixed the sagging issue effectively.
Preventing Future Gutter Issues
Now that your gutters are back in good shape, it's important to keep them that way. Here are a few tips:
- Regular Maintenance: Clean your gutters at least twice a year, or more frequently if you have overhanging trees.
- Install Gutter Guards: These can help keep debris out and reduce the need for frequent cleaning.
- Check for Damage: After heavy storms, take a quick look at your gutters to ensure they are still secure.
- Monitor for Leaks: Keep an eye out for any signs of water damage around your home, which might indicate a gutter problem.
There you have it—a simple guide to fixing sagging gutters. Tackling this issue before it becomes a bigger problem not only saves you time and money but also protects your home from potential water damage. And hey, there's something quite satisfying about a DIY home repair, don't you think?